Windows Installation
This is a step-by-step tutorial that takes you through setting up Fuse X and creating your first project. Should you happen to run into problems during installation, please let us know!
Node.js is required to install this software.
A working internet connection is required to install this software.
Requirements
- Windows 7 or newer
- Windows 10 is recommended
- Node.js 12 or newer
Running the installer
The latest version of Fuse X can always be downloaded from the download page. Download the Windows installer (.exe).
You should have downloaded a file called fuse-x-2.0.0-win.exe or similar. Open it and follow the installation procedure.
This chapter will guide you through it.
You can skip this chapter if you already know how to do this.
Prerequisites
Make sure you have an up-to-date Node.js installation on your system.
Opening the installer
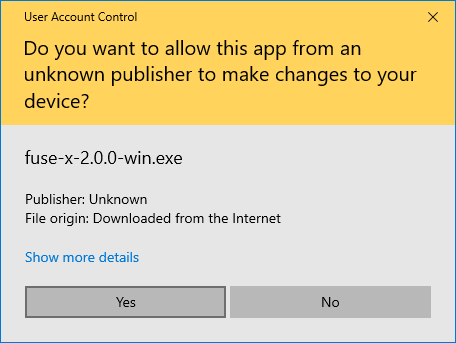
You might see a security warning from Windows when starting the installer. This is fine.
Click Yes to continue.
Installation process
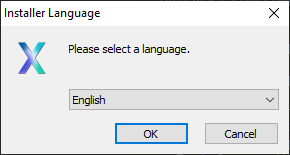
Select your preferred language, if any.
Click Next to continue.
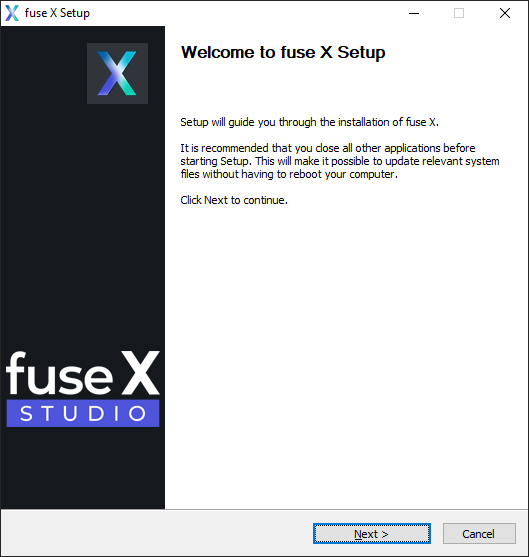
Click Next to continue.
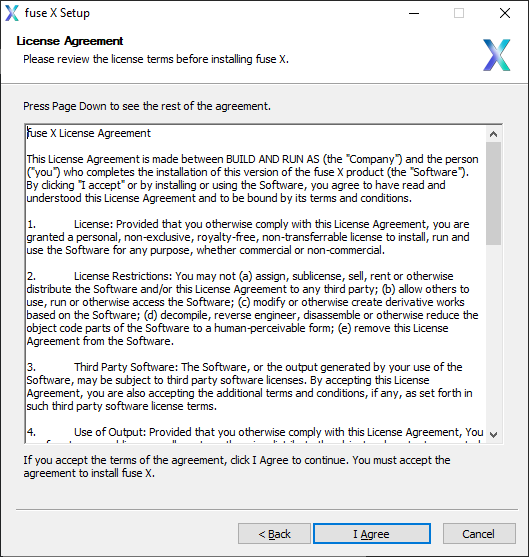
Click I Agree to continue.

Optional: Select your Text Editor Plugins and whether you want Android Support. This can be installed later also.
Click Install to continue.

Please wait a few minutes...
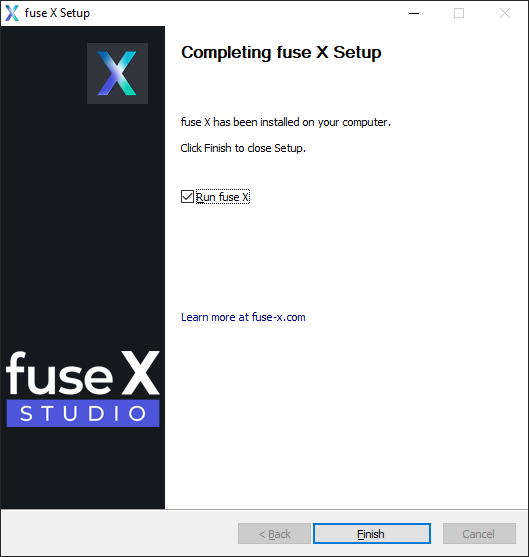
Click Finish to exit.
Starting Fuse X
Fuse X can be started in three different ways.
1. From Installer: fuse X was started when finishing the installer.
2. From Start Menu: Find and click the fuse X icon.
3. From Command Prompt: Type
fuseand hit Enter.
You may have to log out and in again (or simply reboot) to make sure paths for
fuseandnodeare properly updated.
Activating your installation (Activation code)
You might have purchased a License and received an Activation code from our sales partner.
This chapter will show you how to activate your installation.
You can skip this chapter if you don't need to do this now.
Opening the Activation dialog
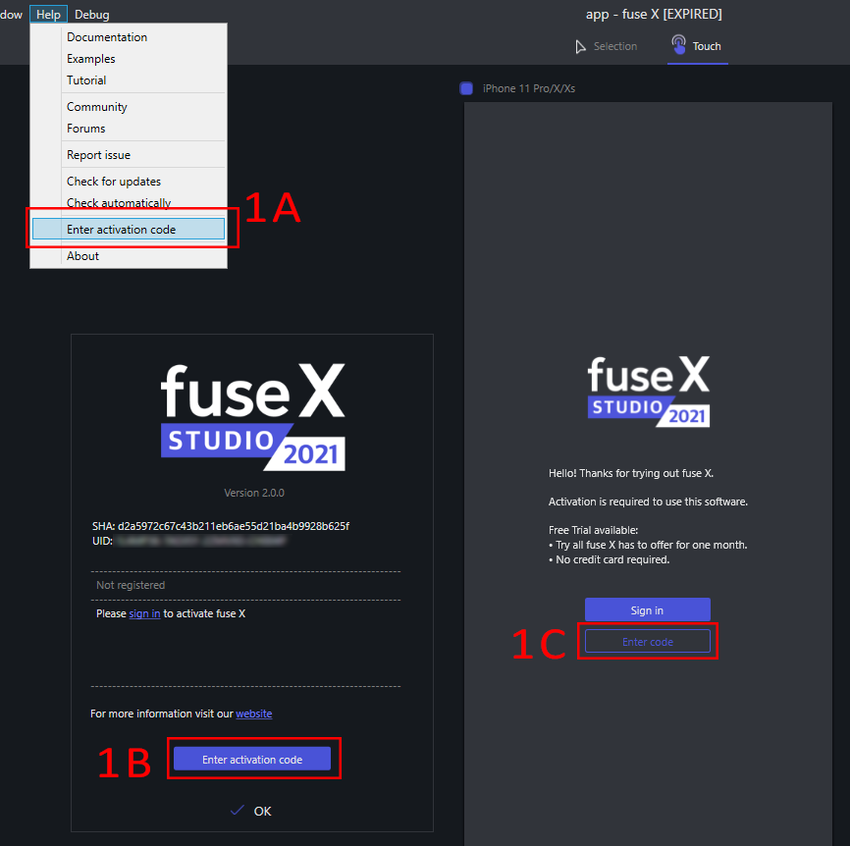
1A. Enter activation code is found under the Help menu inside the fuse X window.
1B. Enter activation code is found at the bottom of the About dialog.
1C. An Enter code button is shown in the viewport after your trial period runs out.
Find and click 1A, 1B or 1C to open the Activation dialog.
Entering your code
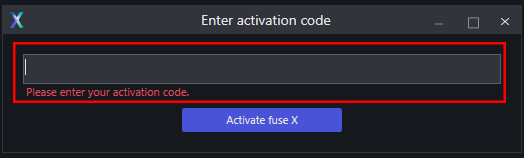
You should have received an Activation code from our sales partner. Ctrl+C and Ctrl+V here.
Click Activate fuse X to continue.
It is a good idea to restart Fuse X to make sure it is activated properly. A message box should appear and ask if you want to do this now.
Verifying your activation
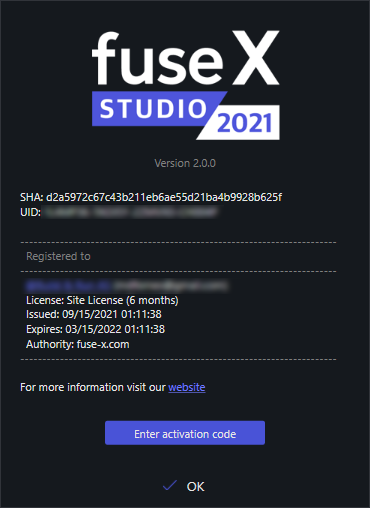
After activation you can verify your license details in the About dialog.
Enjoy your day 🙂
Finding a text editor
Fuse X requires an external text editor in order to make changes to the UX markup in our app. To streamline your experience with Fuse X, we provide plugins for some of the more popular text editors which provide code completion, error lists, output logs and the ability to launch Fuse apps from within the text editor.
We currently provide plugins for the following text editors:
| Editor | Installation | Plugin homepage |
|---|---|---|
| Visual Studio Code | link | link |
| Atom | link | link |
| Sublime Text 3 | link | link |
Starting a new project
When opening Fuse X, the first thing you'll see is the dashboard:
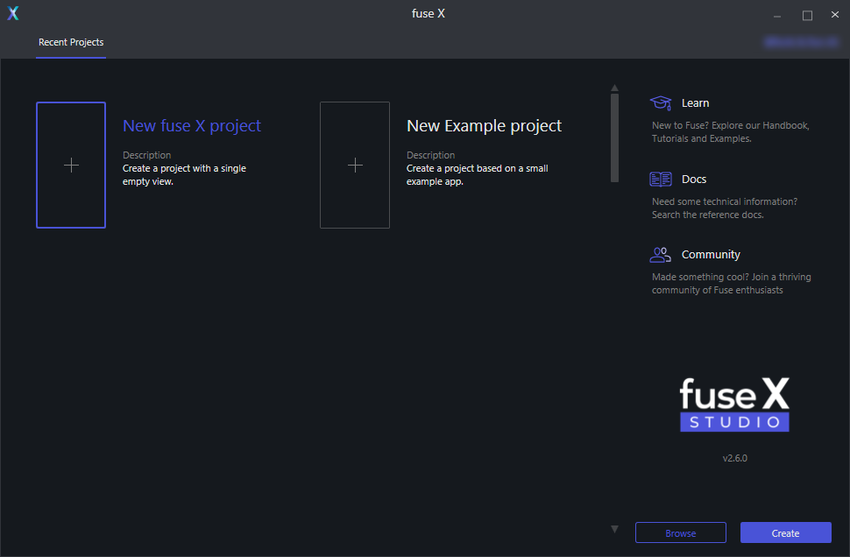
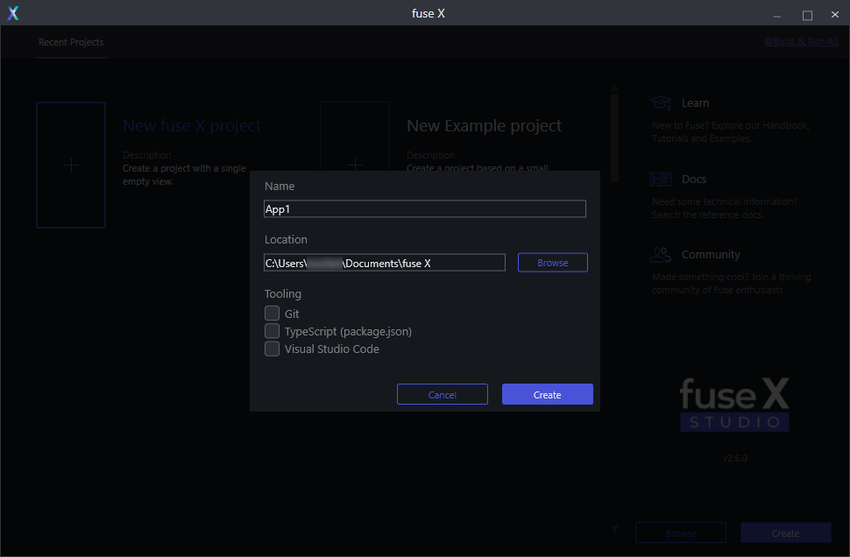
To start a new project, we first have to pick a template. Fuse X comes with a few templates which provide a good starting point when starting from scratch. For the purpose of this guide, we want to choose the "New fuse X project" template. This template gives a project with one file in which we can easily start building our app. Choose this template by clicking the box with its name, and then click the "create" button. You will then have to pick a name and a directory for your project.
After clicking the "create" button, Fuse X starts a local preview viewport. You'll notice that this process take some time, as Fuse X has to download the packages containing the framework code used to create apps with Fuse X. This only happens the first time Fuse X is run after installation. You can see the download progress in the "Log" panel at the bottom of the window.
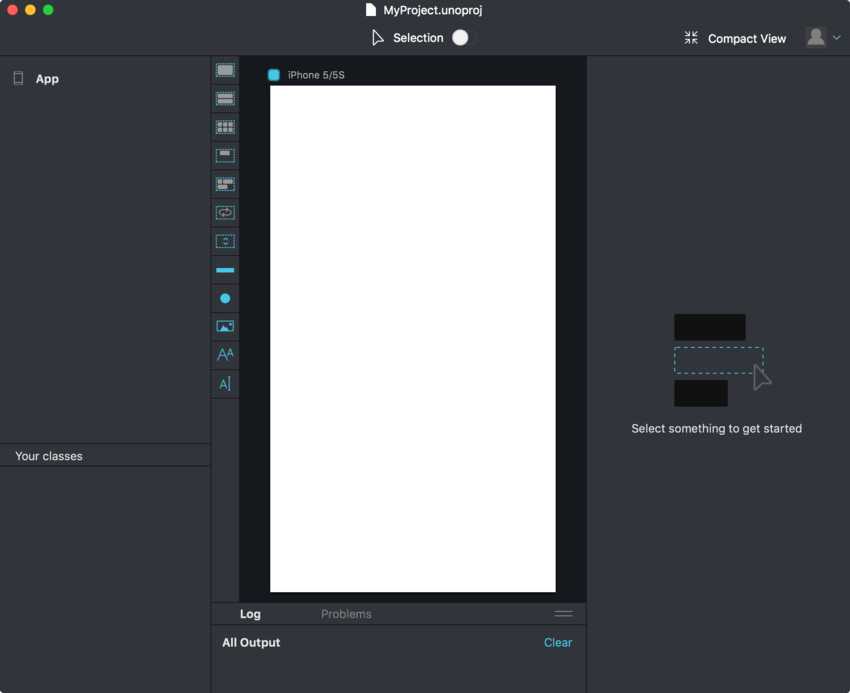
After Fuse X is done downloading all the required packages, the preview viewport is started, and you'll notice that all we have to start with is a white background.
Making some changes
To open the project in your text editor, either click the "Project" tab and select MainView.ux or open the project folder directly from your text editor.
To get started, paste the following code directly into MainView.ux, replacing the existing code:
<App Background="#2196F3">
  <ClientPanel>
      <StackPanel ItemSpacing="10">
          <Text FontSize="30">Hello, world!</Text>
          <Slider />
          <Button Text="Button" />
          <Switch Alignment="Left" />
      </StackPanel>
  </ClientPanel>
</App>
As soon as you save the document, you should notice the preview viewport update to display some Text, a Slider, a Button and a Switch control, stacked on top of each other vertically. Fuse X picks up any change you make to your documents, and updates automatically and immediately to reflect those changes. This even works on your devices which you can read about in the next section.
Running preview on device
Fuse X can do live preview on both Android and iOS devices, even at the same time!
The simplest way to get started is with the Fuse X Preview app so you should definitely try that one out first.
If you ever need to include non-standard packages or Uno code in your project then you can instead build your own custom preview, but you can make that switch whenever you want to so there's no harm in starting out with the Fuse X Preview app.
What next?
Now that you're all set up, it's time to get started learning the fundamentals of Fuse. A good next step is to take a look at the Introduction to Fuse module, which will take you through the fundamentals of Fuse. If you prefer learning by example, the hikr tutorial will lead you through the creation of a simple hiking app, while explaining each step along the way. If you simply want to start digging into example code and play around on your own, there is a ton of content to look at on our examples page as well as in the fuse-samples github repo.